Easy Crochet Beanie: Free Pattern & Step-by-Step Tutorial
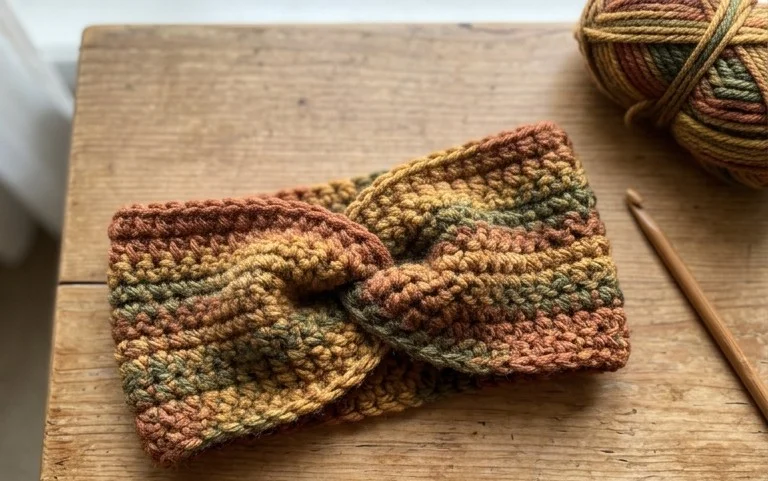
There is something truly magical about watching a simple ball of yarn transform into this cozy, textured masterpiece that feels like a warm hug against your skin. Whether you are a curious beginner eager to build confidence or a busy crafter hunting for the perfect handmade gift, this versatile project fits seamlessly into any home decor collection. You will fall in love with the rhythmic flow of the stitches, making it a deeply satisfying way to unwind after a long day. Together, we will master the essential textured loop technique that gives this piece its signature, cloud-like softness.
Why Crocheters Love It
This classic crochet beanie is a staple project that offers the perfect balance of simplicity and style. Whether you are a newcomer to the craft or a seasoned maker looking for a relaxing “mindless” project, this pattern delivers consistent, professional-looking results every time.
- Beginner-Friendly Foundation: This pattern utilizes only basic stitches, making it an excellent project for practicing tension control while creating a wearable garment.
- Rapid Results: Thanks to the use of worsted weight yarn, this hat works up in just a few hours, making it an ideal last-minute gift.
- Highly Versatile Style: The ribbed texture of this design ensures a comfortable, stretchy fit that accommodates a wide variety of head shapes and sizes.
- Scrap-Yarn Friendly: It is a fantastic way to use up those leftover partial skeins from larger projects, as it requires less than 200 yards of yarn.
I am fairly new to crochet and was intimidated by garment making, but this pattern was so straightforward. The instructions are crystal clear and I finished my first hat in a single weekend. It fits perfectly.
— Sarah, adventurous beginner
Pattern Overview & Skill Level
- Skill Level: Beginner
- Approximate Time: 3–5 hours
- Construction: Worked as a flat rectangle in rows, then seamed at the side and gathered at the top to form the crown.
- Finished Dimensions: Fits an average adult head (20–22 inch circumference); height is approximately 9 inches.
Materials & Supplies Needed
- Yarn: Worsted weight (#4), approximately 180 yards. Wool blends provide the best elasticity and warmth, while acrylic offers easy-care durability.
- Hook Size: 5.0 mm (H-8) crochet hook.
- Notions: Tapestry needle, scissors, measuring tape, and a pom-pom maker (optional).
- Yarn Substitutions: You may use a light chunky (#5) yarn for a bulkier look, though this will require adjusting your chain length and total row count to maintain the same finished size.
Stitch Guide & Abbreviations (US Terms)
- ch: chain
- st(s): stitch(es)
- sl st: slip stitch
- BLO: Back Loop Only – insert hook only into the back loop of the stitch instead of both loops.
- HDC: Half double crochet – yarn over, insert hook in st, yarn over, pull up a loop, yarn over and pull through all three loops on hook.
Step-by-Step Pattern Instructions
Main Body
- Row 1: Ch 45. HDC in 2nd ch from hook and in each ch across. Turn. (44 sts)
- Row 2: Ch 1, HDC in BLO of each st across. Turn. (44 sts)
- Rows 3–60: Repeat Row 2 until the piece measures approximately 20 inches wide when slightly stretched.
Assembly & Finishing
- Seaming: Fold the rectangle in half, matching the short ends. Using a tapestry needle and a length of yarn, whip stitch the two short ends together to create a tube.
- Closing the Crown: With your tapestry needle, weave the yarn tail in and out of every other stitch along the top edge of the tube. Pull the yarn tail tight to cinch the top of the hat closed.
- Securing: Secure the tail with a knot on the inside of the hat and weave in all remaining ends. Add a pom-pom to the top if desired.
Care & Washing Instructions
- Hand wash in cool water using a mild wool-safe detergent to preserve the fibers.
- Lay the hat flat on a clean towel to air dry; do not hang, as this will stretch the fabric out of shape.
- Avoid using a tumble dryer, as high heat can shrink or felt natural fiber yarns.
Pro Tips & Common Mistakes to Avoid
- Tension Consistency: Because this is a ribbed pattern, your tension will determine the stretch. If you find your hat is too tight, try going up a half-size in your crochet hook.
- Edge Stitching: Ensure you complete the final stitch of every row. Beginners often accidentally skip the last stitch, which causes the edges of the rectangle to slant and creates an uneven seam.
- Weaving Ends: Weave your ends back and forth in three different directions to ensure they stay secure over time, especially since hats experience a lot of movement.
- Adjusting Size: To make the hat larger or smaller, simply add or subtract chains at the start of the foundation row. Each chain represents approximately 0.5 inches of height.
Frequently Asked Questions
Can I use a different yarn weight for this pattern?
Yes, but you will need to adjust the starting chain length to match the desired height and work more or fewer rows to achieve the correct circumference.
Is this project suitable for a complete beginner?
Absolutely. It uses only the half double crochet stitch and back loop only technique, which are among the first skills most crocheters learn.
How do I prevent the top of the hat from looking bulky when cinched?
Try to weave your gathering thread through the “valleys” of the ribbed stitches rather than every stitch; this helps the fabric gather more compactly.
Can I sell the finished hats I make from this pattern?
Please check the copyright notes on the specific yarn label or designer source. Most designers allow small-batch sales, but always credit the pattern creator.
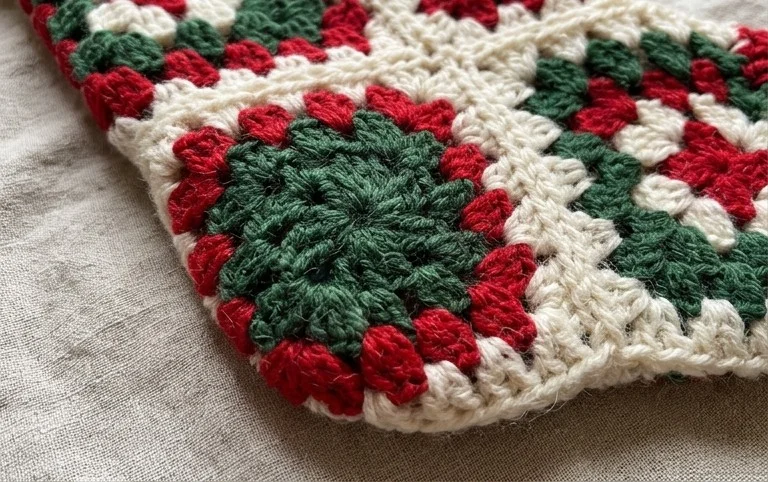
Your finished piece looks absolutely stunning and is sure to bring a cozy touch to your home! If you want to experiment, try working this up in a chunky velvet yarn for a softer, plushier feel. I would love to see how your creation turned out, so please share a photo on Pinterest or tag me in your social media posts. Once you are finished, be sure to browse the rest of my site for more free patterns to inspire your next project!