Easy Christmas Quilt Crochet Pattern: Step-by-Step Guide
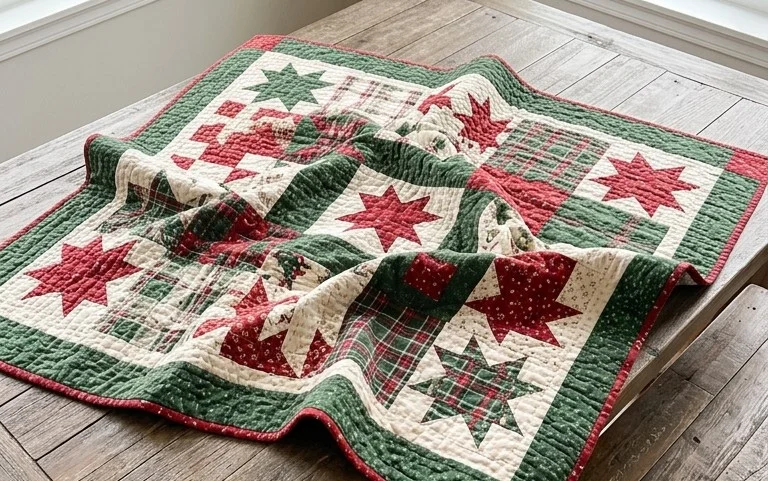
A stack of these handmade blocks brings a soft, nostalgic texture to your living room during the coldest months of the year. The finished pieces feel dense and weighted, providing genuine warmth when joined into a full-sized spread. This project suits anyone who finds comfort in repetitive movements, including those just learning to hold a hook or hobbyists who want a portable task for evening downtime. You will master the classic cluster stitch sequence that forms the core of every square. Working through these rounds builds a rhythmic confidence, turning simple yarn scraps into a meaningful seasonal gift for family members.
Why This Project Is Worth Making
The Classic Crochet Granny Square is the fundamental building block of crochet design. You work this pattern in the round, creating a center-out square that expands symmetrically with every pass. Beginners appreciate the rhythm of the cluster stitches, while experienced crafters rely on this design for its portability and meditative pace. Because it uses simple double crochet clusters and chain spaces, you can easily memorize the sequence after just one full square. It is a highly efficient way to use leftover yarn scraps, as you can change colors at the end of any round to create a unique palette.
I started this project to use up my leftover worsted weight yarn and ended up making an entire blanket. The instructions are so clear that I could work on it while watching television without losing my place.
— Sarah, hobbyist crocheter
Pattern Overview & Skill Level
- Skill Level: Beginner
- Approximate Time: 30 to 45 minutes per square
- Construction: Continuous rounds worked from the center outward
- Finished Dimensions: Approximately 6 inches by 6 inches using standard worsted weight yarn
Materials & Supplies Needed
- Yarn: Worsted weight #4, 100% acrylic or wool blend, approximately 20 yards per square.
- Hook Size: 5.0 mm / H-8
- Notions: Tapestry needle for weaving in ends, scissors, and optional stitch markers for identifying the corners.
- Safe yarn substitutions: You may use cotton yarn for a stiffer, more defined square, though it will require a slightly tighter tension. Using a DK weight yarn will result in a smaller square unless you add an additional round.
Stitch Guide & Abbreviations (US Terms)
- ch = chain
- st = stitch
- sl st = slip stitch
- dc = double crochet
- Cluster = a group of 3 dc stitches worked into the same space
- Corner = [3 dc, ch 2, 3 dc] worked into a chain-2 corner space
- MR = magic ring (or ch 4 and join with sl st to form a ring)
Step-by-Step Pattern Instructions
Granny Square Body
- Rnd 1: Start with a MR. Ch 3 (counts as first dc), work 2 dc into the ring, ch 2, 3 dc, ch 2 3 times. Join with a sl st to the top of the beginning ch-3. (12 dc, 4 ch-2 spaces)
- Rnd 2: Sl st into the next two sts and into the corner ch-2 space. Ch 3, (2 dc, ch 2, 3 dc) in same corner space. Ch 1, skip 3 sts, (3 dc, ch 2, 3 dc) in next corner space. Repeat from * to * two more times. Ch 1, join with sl st to top of beginning ch-3. (24 dc, 4 ch-1 spaces, 4 ch-2 spaces)
- Rnd 3: Sl st into the next two sts and into the corner ch-2 space. Ch 3, (2 dc, ch 2, 3 dc) in same corner space. Ch 1, 3 dc in next ch-1 space, ch 1, (3 dc, ch 2, 3 dc) in corner space. Repeat from * to * two more times. Ch 1, 3 dc in final ch-1 space, ch 1, join with sl st to top of beginning ch-3. (36 dc, 8 ch-1 spaces, 4 ch-2 spaces)
- Rnd 4: Continue in established pattern, working 3 dc into each side ch-1 space and the corner sequence [3 dc, ch 2, 3 dc] into each corner ch-2 space. Always ch 1 between side clusters. Join with a sl st. (48 dc, 12 ch-1 spaces, 4 ch-2 spaces)
Finishing
Fasten off your yarn, leaving a 6-inch tail. Use your tapestry needle to weave the yarn tail through the back of the clusters to secure the knot. Block the square by spraying it lightly with water and pinning it to a flat surface in a true square shape to even out the stitches.
Care & Washing Instructions
- Machine wash your finished item on a gentle cycle in cold water using a mild detergent.
- Lay the piece flat on a clean towel to air dry rather than using a machine dryer, which can cause fiber distortion.
- Reshape the square while damp and pin it flat if the edges have curled during the assembly process.
Pro Tips & Common Mistakes to Avoid
- Tension consistency is vital; if your squares are coming out smaller than 6 inches, ensure you are not pulling the yarn too tightly during the cluster stitches.
- Place a stitch marker in the corner ch-2 space of every round to easily identify where to start your next cluster group.
- Weave your ends into the base of the stitches on the wrong side of the work rather than simply cutting them off to ensure the project remains durable through repeated washing.
- To adjust the size, simply add more rounds using the pattern established in Rnd 4; keep in mind that larger squares will require significantly more yardage, so ensure you have enough of your chosen color.
Frequently Asked Questions
Can I use different weights of yarn for this pattern?
Yes, but your finished square size will change. A lighter weight yarn will result in a smaller square, while a bulkier yarn will result in a larger one. You may need to adjust your hook size to match the yarn manufacturer’s recommendation on the label.
Is this pattern suitable for someone who has never held a crochet hook?
It is an excellent starting point because it uses basic stitches and a repetitive structure. Focus on mastering the double crochet stitch before beginning the square to make the process easier.
Am I allowed to sell blankets made from these squares?
You are free to sell items you personally create from this pattern. I ask that you credit the design, but you must take your own original photographs for any sales listings.
What do I do if my square is not lying flat?
If your square is ruffled, you likely have too many stitches in a round. If it is cupping or pulling inward, you likely have too few stitches. Check your stitch counts against the instructions for each round to ensure you have the correct number of clusters.
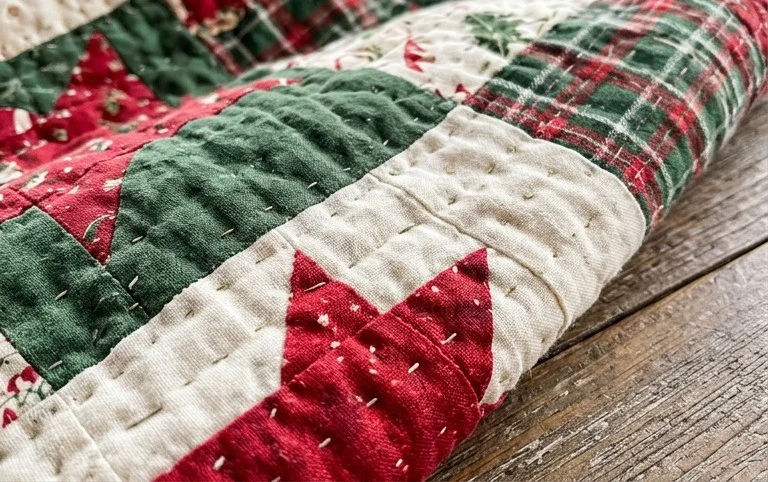
Your new holiday blanket will look wonderful draped over a sofa or layered at the end of a guest bed. You might try working with a deep forest green and cream palette for a classic look, or experiment with chunky velvet yarn to create an even softer, more luxurious finish. Post a picture of your finished progress on social media so others can see your color choices. Browse the rest of my blog for additional crochet designs that help you use up your extra yarn stash throughout the coming months.