14 Free Kawaii Amigurumi Patterns: Easy Beginner Projects
Soft yarn and round, squishy shapes make these small creations feel like tiny friends that fit right in your palm. These miniature dolls offer a simple way to practice basic crochet stitches while building a collection of charming desk companions or unique handmade gifts for friends. You will find that working in continuous rounds helps you achieve a smooth finish without visible seams on your figures. Each project focuses on building three-dimensional shapes through simple increases and decreases, making it accessible for anyone holding a hook for the first time. You get to bring life to simple balls of yarn through just a few clever stitches.
Why You’ll Love This Pattern
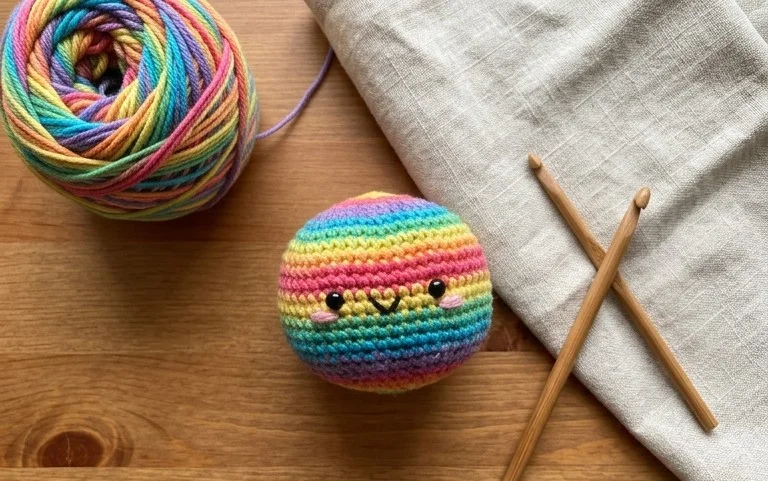
This beginner-friendly crochet heart pattern utilizes basic single crochet stitches worked in a continuous spiral, making it an ideal entry point for those new to amigurumi. You can complete each heart in under thirty minutes, which makes it perfect for last-minute gifts or stocking stuffers. Because the design requires only a small amount of yarn, it is an excellent way to use up leftover scraps from larger projects. The simple structure relies on just two foundational bumps that merge into a single shape, providing a rewarding introduction to shaping three-dimensional objects.
I managed to whip up a dozen of these for my coworkers in just one weekend. The instructions are very clear and the hearts hold their shape perfectly even without heavy stuffing.
— Sarah, amigurumi hobbyist
Pattern Overview & Skill Level
- Skill Level: Beginner
- Approximate Time: 20–30 minutes per heart
- Construction: Worked in two separate circular “hump” sections which are joined in the middle and decreased to form a heart shape
- Finished Dimensions: Approximately 2 inches wide by 2 inches tall using worsted weight yarn
Materials & Supplies Needed
- Yarn: Worsted weight (#4) acrylic or cotton yarn, approximately 10 yards per heart
- Hook Size: 3.5 mm (E-4) hook to ensure a tight gauge so stuffing does not show through
- Notions: Tapestry needle, stitch markers, fiberfill stuffing, scissors
- Yarn substitutions: DK weight yarn can be used for a smaller heart, though you should decrease your hook size to 3.0 mm to maintain a dense stitch structure. Using a heavier bulky yarn will result in a larger, softer heart but will require more fiberfill.
Stitch Guide & Abbreviations (US Terms)
- MR: Magic Ring
- ch: Chain
- sc: Single crochet
- inc: Increase (work 2 sc in the same stitch)
- dec: Decrease (single crochet 2 stitches together using the invisible decrease method)
- sl st: Slip stitch
- st(s): Stitch(es)
Step-by-Step Pattern Instructions
Heart Bumps
You will start by making two identical pieces that form the top lobes of the heart.
- Rnd 1: Start 6 sc in a MR (6 sts)
- Rnd 2: 2 sc in each st around (12 sts)
- Rnd 3: 1 sc in each st around (12 sts)
- Rnd 4: 1 sc in each st around (12 sts)
For the first hump, fasten off. For the second hump, do not fasten off; you will continue directly to the joining round.
Joining and Body
You will now connect the two humps to begin the main heart shape.
- Rnd 5: Join the two humps by working 1 sc into any stitch on the first hump, then continue working around the remaining 11 stitches of the first hump, followed by 12 stitches of the second hump (24 sts)
- Rnd 6: 1 sc in each st around (24 sts)
- Rnd 7: (2 sc, dec) 6 times (18 sts)
- Rnd 8: 1 sc in each st around (18 sts)
- Rnd 9: (1 sc, dec) 6 times (12 sts)
- Rnd 10: 1 sc in each st around (12 sts)
At this stage, add your fiberfill stuffing firmly into the heart before finishing the final decreases.
- Rnd 11: Dec 6 times (6 sts)
Finishing
Cut the yarn leaving a 6-inch tail. Use your tapestry needle to weave the yarn through the front loops of the remaining 6 stitches and pull tight to close the opening. Weave the remaining tail into the center of the heart to hide it.
Care & Washing Instructions
- Machine wash on a gentle cycle in a mesh laundry bag using cold water.
- Lay the heart flat on a clean towel to air dry, ensuring it is reshaped while damp.
- Avoid bleach or high-heat drying, as these can melt acrylic fibers or shrink cotton.
Pro Tips & Common Mistakes to Avoid
- Maintain a consistent tension throughout the rounds; if your stitches are too loose, the stuffing will poke through the gaps.
- Always place a stitch marker at the beginning of every round so you do not lose track of your stitch counts during the decrease rows.
- When weaving in your ends, pass the needle through the center of the heart multiple times to lock the yarn securely in place.
- To adjust the size of the heart, add more rounds of plain single crochet before starting your decreases, noting that this will require slightly more yarn and stuffing.
Frequently Asked Questions
Can I use a different yarn weight for this pattern?
Yes, you can use any yarn weight as long as you pair it with a hook size slightly smaller than what is recommended on the yarn label to keep the stitches tight.
Is this pattern suitable for complete beginners?
This pattern is very accessible for beginners because it uses only basic stitches and clear, repetitive counting, making it a great way to learn amigurumi basics.
What is the best way to stuff the heart?
Use small pinches of fiberfill to ensure the stuffing reaches all the way into the two top lobes before moving on to the main body decreases.
Am I allowed to sell the hearts I make from this pattern?
You are welcome to sell finished items made from this pattern, but please credit the design to this tutorial and use your own photographs for your listings.
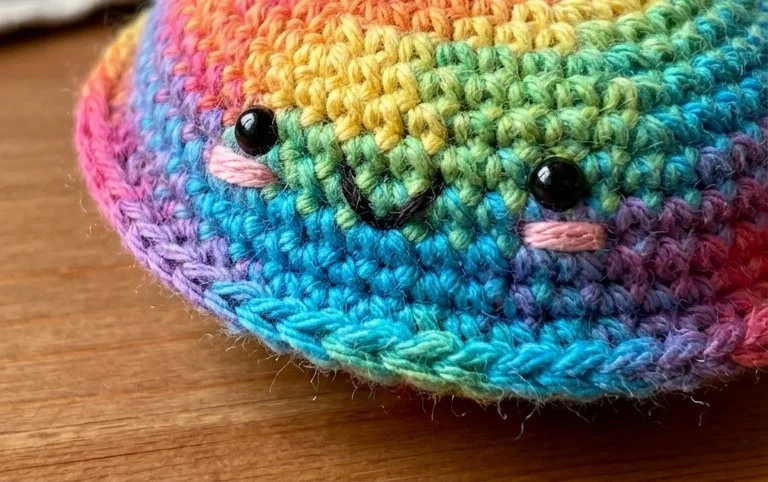
Finishing these tiny creatures brings a sense of accomplishment that keeps your yarn stash busy and your craft space organized. You can easily swap your cotton yarn for a fuzzy velvet chenille to create a larger, plush version of these same shapes in half the time. Sharing your finished work online helps others find inspiration for their own yarn adventures. Please upload your photos to social media platforms so we can see how your color choices turned out. Check back here for more free patterns to fill your shelves with handmade joy.