10 Fast & Free Crochet Patterns for Easy Handmade Gifts
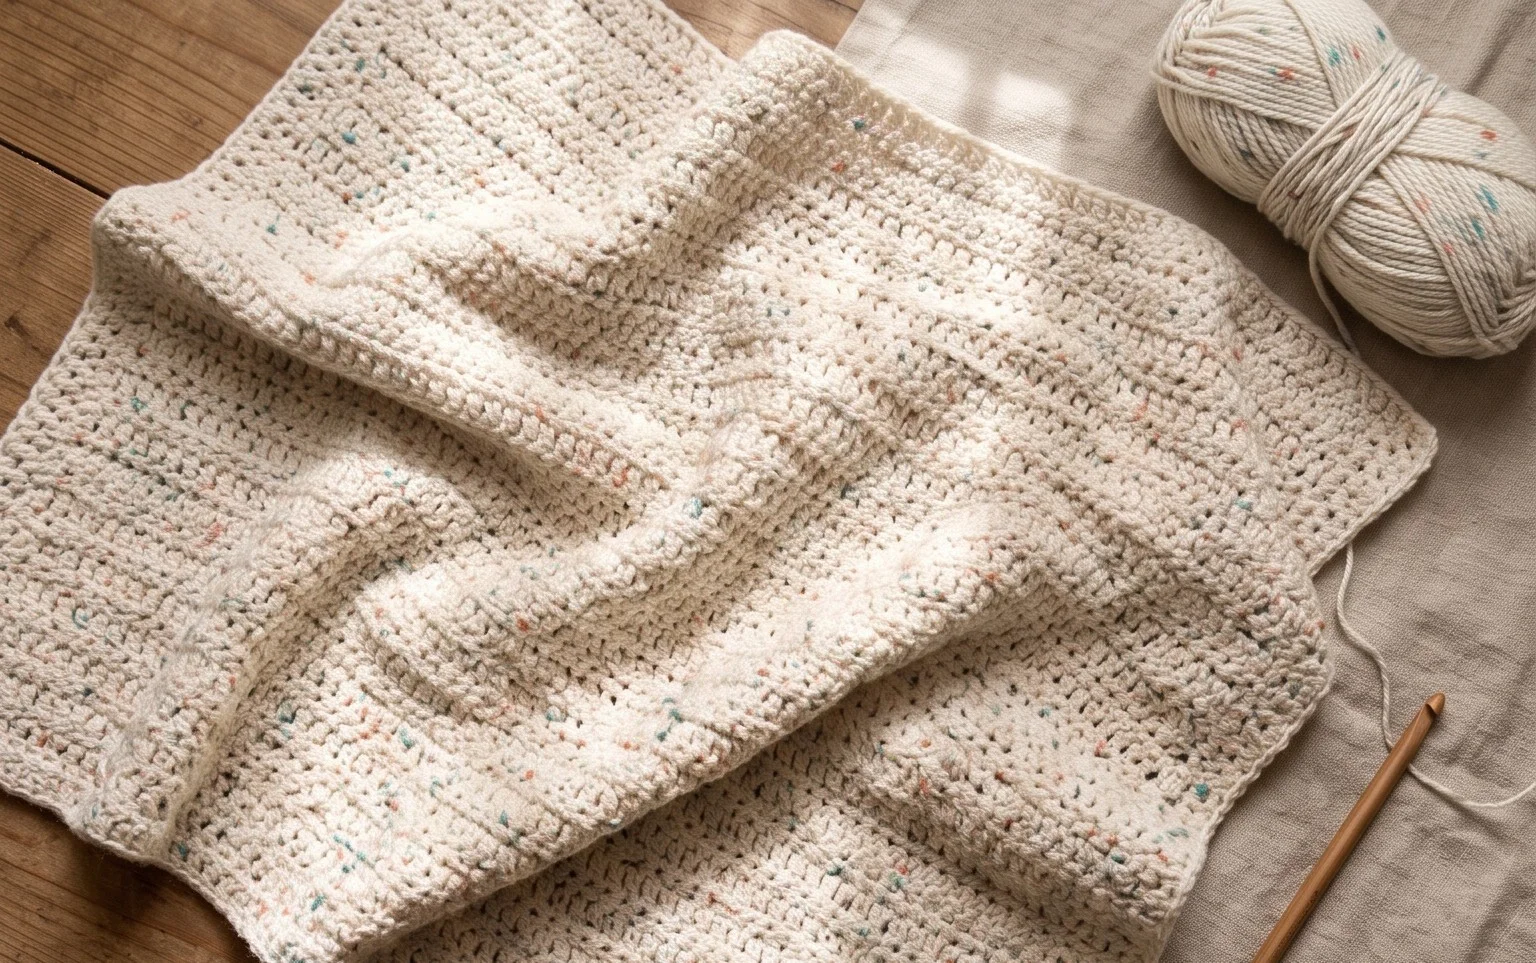
Soft wool squares tucked into a handmade gift basket turn a simple gesture into a warm, memorable experience for friends and family. These quick projects provide a meditative rhythm for your hands during busy weekends when you need to produce something thoughtful on a tight schedule. Each square offers a dense, cushioned texture that works well for blankets or small pouches. You will master the traditional cluster technique and learn to maintain consistent tension while rotating your work. Making these pieces helps clear out yarn scraps from your stash, turning leftover bits into functional items that feel sturdy and professional.
Why You’ll Love This Pattern
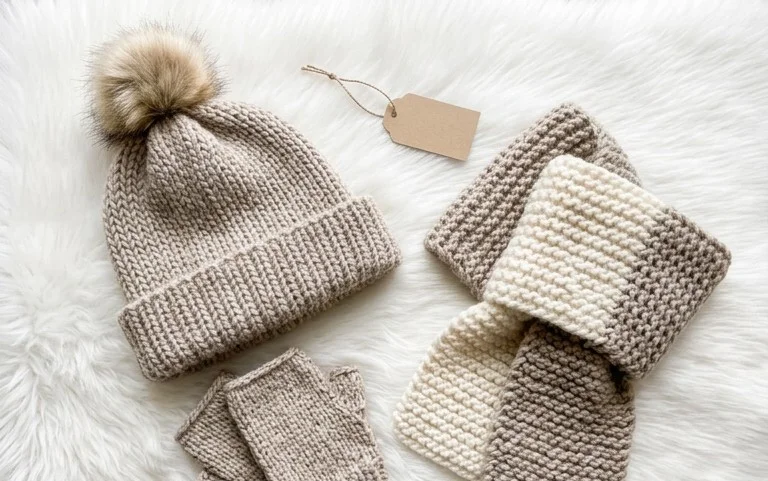
The Classic Crochet Granny Square is the fundamental building block of crochet design. This specific version utilizes a traditional three-double-crochet cluster technique that balances structural integrity with a soft, pliable fabric. It works up quickly, making it a reliable project for practicing tension control or using up small leftover balls of yarn from larger projects. Because the pattern relies on a repeating sequence, it is easy to pick up and put down during short breaks without losing your place.
I finally mastered the center join after struggling for weeks with other patterns. This one is clear and the final square lies perfectly flat without any curling.
— Sarah, beginner crocheter
Pattern Overview & Skill Level
- Skill Level: Beginner
- Approximate Time: 30 to 45 minutes per square
- Construction: Worked in joined rounds, starting from the center and expanding outward
- Finished Dimensions: Approximately 6 inches by 6 inches using standard worsted weight yarn
Materials & Supplies Needed
- Yarn: Worsted #4 weight, 100% acrylic or wool blend, approximately 20 yards per square.
- Hook Size: 5.0 mm (US H-8).
- Notions: Tapestry needle for weaving ends, sharp scissors.
- Yarn Substitutions: You can use cotton yarn, though it will result in a firmer, less stretchy square. If using a DK weight yarn, expect a smaller finished size unless you increase the number of rounds.
Stitch Guide & Abbreviations (US Terms)
- ch: chain
- st/sts: stitch/stitches
- sl st: slip stitch
- dc: double crochet
- dc cluster: work 3 dc into the same ch-space or stitch
- sp: space
- MR: magic ring (or alternatively, ch 4 and sl st to the first ch to form a ring)
Step-by-Step Pattern Instructions
Granny Square Body
- Rnd 1: Start with a MR. Ch 3 (counts as first dc), work 2 dc into the ring, ch 2, *3 dc into the ring, ch 2; repeat from * two more times. Join with a sl st to the top of the beginning ch-3. (12 dc, 4 ch-2 spaces)
- Rnd 2: Sl st into the next two sts and into the first ch-2 corner space. Ch 3, 2 dc, ch 2, 3 dc in the same corner space. *Ch 1, skip 3 sts, (3 dc, ch 2, 3 dc) in the next corner ch-2 space; repeat from * two more times. Ch 1, sl st to the top of the beginning ch-3. (24 dc, 4 ch-2 spaces, 4 ch-1 spaces)
- Rnd 3: Sl st into the next two sts and into the corner space. Ch 3, 2 dc, ch 2, 3 dc in the same corner space. *Ch 1, 3 dc in the next ch-1 side space, ch 1, (3 dc, ch 2, 3 dc) in the corner space; repeat from * two more times. Ch 1, 3 dc in the final side space, ch 1, sl st to the top of the beginning ch-3. (36 dc, 4 ch-2 spaces, 8 ch-1 spaces)
- Rnd 4: Sl st to the corner space. Ch 3, 2 dc, ch 2, 3 dc in the same corner space. *Ch 1, (3 dc in the next ch-1 space, ch 1) twice, (3 dc, ch 2, 3 dc) in the corner space; repeat from * two more times. Ch 1, 3 dc in the next two ch-1 spaces, ch 1, sl st to the top of the beginning ch-3. (48 dc, 4 ch-2 spaces, 12 ch-1 spaces)
Finishing
Once you reach the desired size, fasten off leaving a 6-inch yarn tail. Use your tapestry needle to weave the tail through the back loops of the final round to secure it, then trim any excess yarn close to the fabric.
Care & Washing Instructions
- Machine wash on a gentle cycle in cold water with mild detergent.
- Lay the square flat on a clean towel to air dry, reshaping it into a perfect square while damp.
- Avoid wringing or twisting the piece, as this can distort the square shape of the cluster stitches.
Pro Tips & Common Mistakes to Avoid
- Tension Consistency: If your squares are turning out wavy or ruffled, your tension is likely too loose. Try dropping down one hook size to tighten the stitches.
- Stitch Counting: Always place a stitch marker in the top of your starting ch-3. This makes it much easier to find the correct spot to join your round at the end.
- Invisible Ends: Weave your ends back and forth in at least three different directions through the cluster stitches. This prevents them from slipping out after several wash cycles.
- Adjusting Size: You can make the square as large as you want by adding more rounds. Each additional round increases your total stitch count by 12 dc and adds 4 more ch-1 spaces along the sides. Keep in mind that larger squares require significantly more yarn.
Frequently Asked Questions
Can I use a different weight yarn for this project?
Yes, you can use any yarn weight. Keep in mind that using a thinner yarn like sport weight will result in a smaller square, while a bulky weight yarn will create a much larger, thicker square.
Is this pattern suitable for someone who has never crocheted?
This is an ideal starter project. It introduces the most common stitches and teaches you how to work in rounds, which is a necessary skill for most crochet projects.
How do I prevent the square from twisting while I work?
Twisting often happens if you accidentally add an extra stitch or skip a chain space. Count your clusters after every round to ensure you have the correct number before moving on.
Can I sell the items I make from this pattern?
You are welcome to sell finished items created from this pattern. Please provide credit to the designer whenever possible and use your own original photographs for listings.
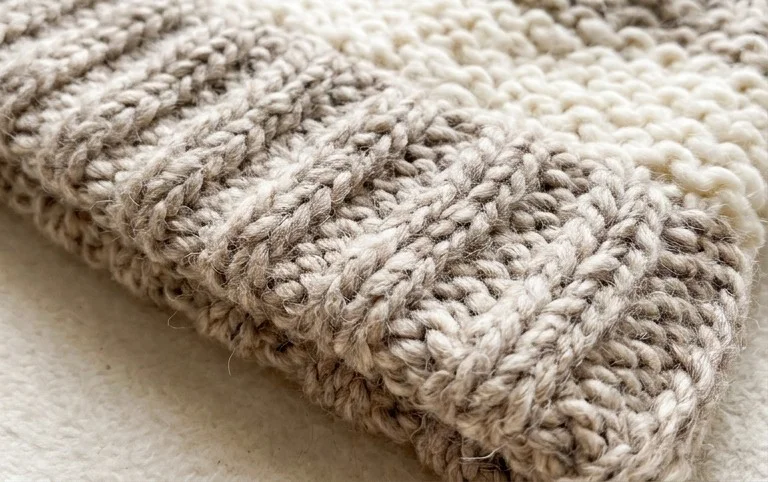
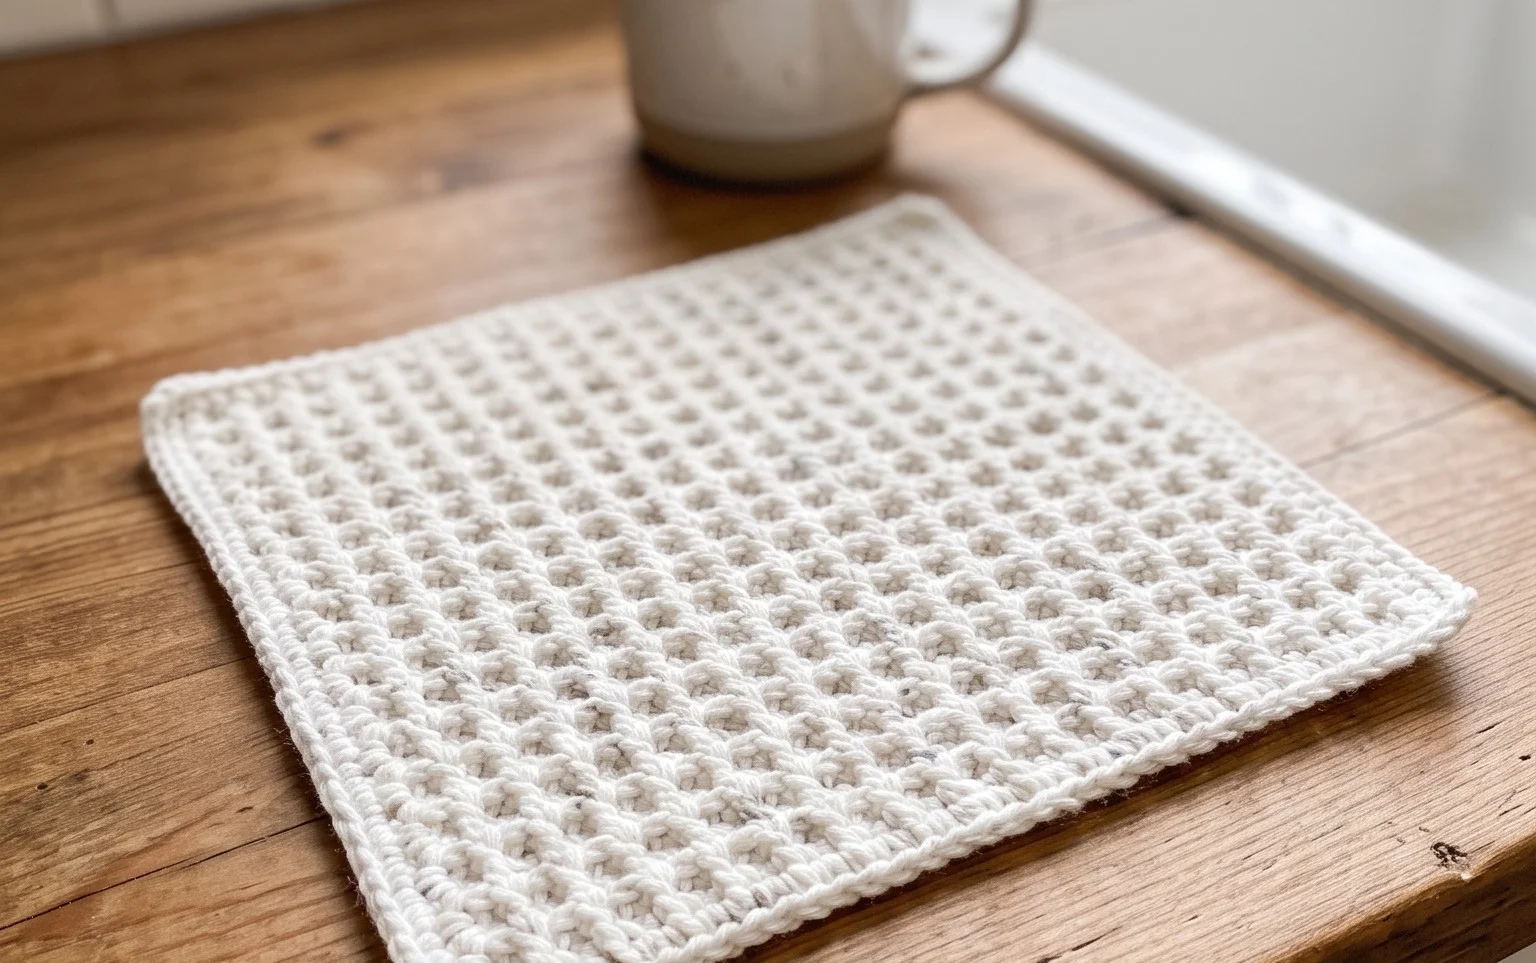
Your finished square looks fantastic with those crisp, clean edges and tight, uniform stitches. Try working yours in a solid neutral shade for a modern look, or use a variegated yarn to bring out the texture of the double-crochet clusters. Sharing a photo of your work online inspires others to pick up their hooks and finish their own projects. You can find many more quick tutorials and free patterns available on the main blog page to keep your hands busy all winter long.