How to Make a Sturdy Pom Pom: Easy Step-by-Step Guide
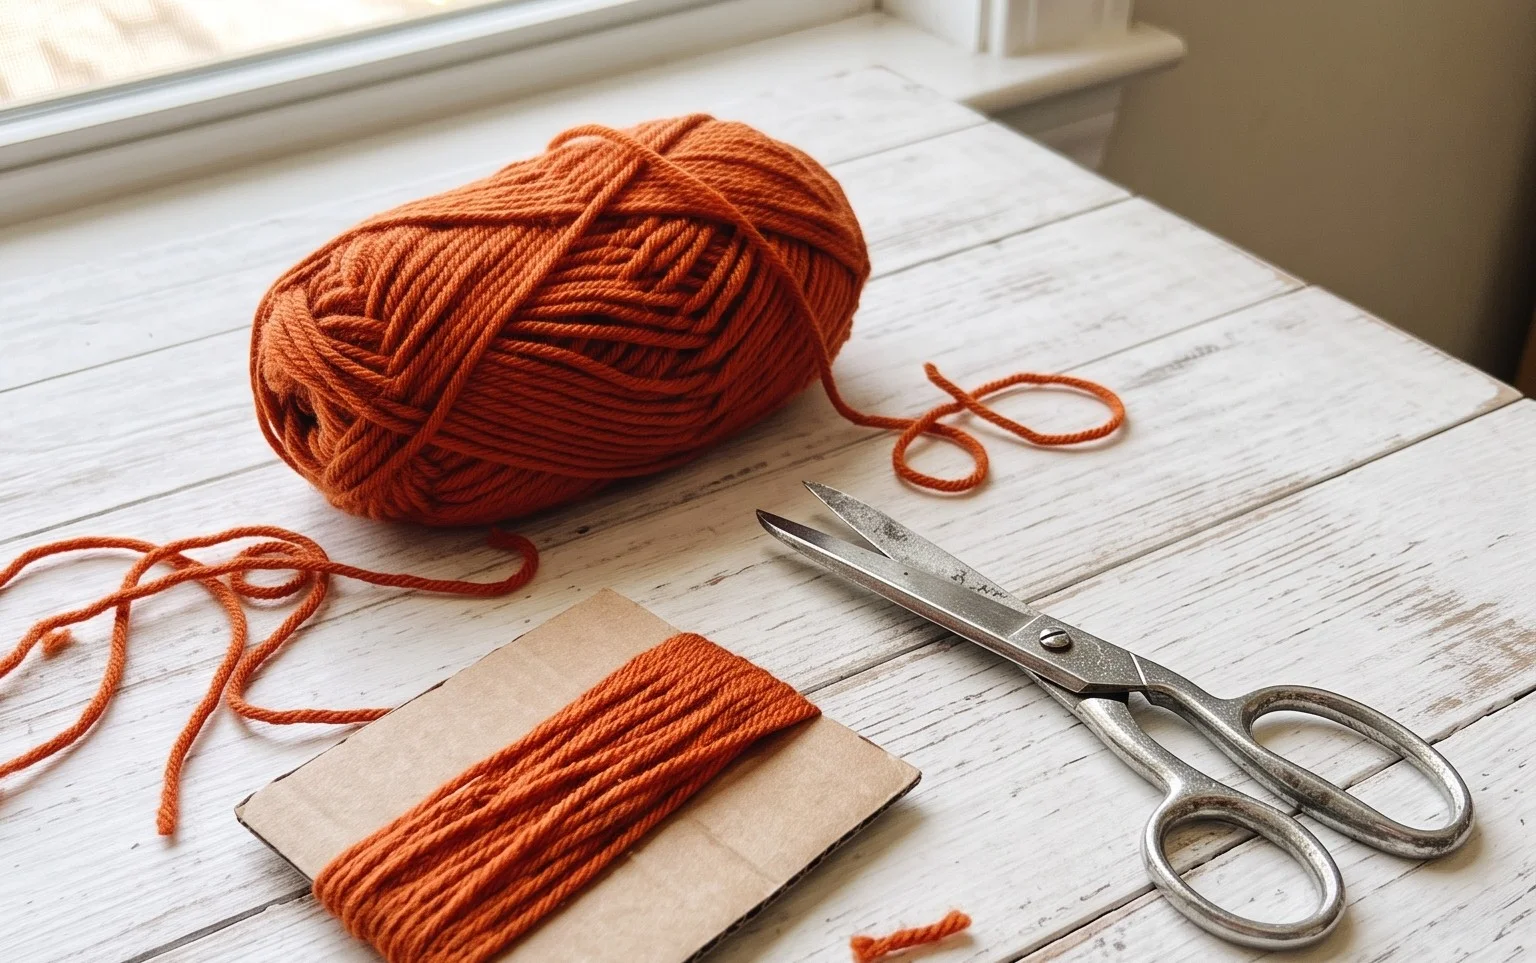
A loose, shedding pom pom can ruin the look of a finished hat or blanket within just a few days of use. This simple method ensures your yarn balls stay tight, round, and securely attached through years of wear. Beginners often struggle with centers that pull apart or loops that slip out, but you will learn a specific tying technique that anchors every strand firmly in place. These dense, fluffy accessories provide a clean finish for your handmade gifts. You only need a few minutes of extra patience during the binding stage to guarantee a lasting, professional result every time.
Why You’ll Love This Pattern
The Classic Crochet Bucket Hat relies on a simple, repeating stitch pattern that builds quickly using basic stitches. Because it works in a continuous spiral, you avoid the visible seam lines often found in traditional joined-round hats. The structured brim provides enough shade for sunny days, while the soft cotton construction ensures the hat remains breathable and packable for travel. It serves as an ideal project for using up partial skeins of medium-weight yarn leftover from larger blankets or sweaters.
I finished this hat in one sitting and found the instructions extremely easy to follow, especially the way the brim increases were laid out to keep it from rippling.
— Sarah, Intermediate Maker
Pattern Overview & Skill Level
- Skill Level: Beginner
- Approximate Time: 3 to 4 hours
- Construction: Worked in continuous rounds from the crown down to the brim
- Finished Dimensions: Fits an average adult head circumference of 22 inches
Materials & Supplies Needed
- Yarn: Worsted #4 cotton yarn, approximately 200 yards in your preferred color
- Hook Size: 5.0 mm (H-8)
- Notions: Tapestry needle, locking stitch marker, and measuring tape
- Safe Yarn Substitutions: Acrylic blends work well for a lighter, stretchier feel, though cotton is recommended to maintain the structured shape of the brim. Note that using a wool blend may result in a warmer, less rigid hat.
Stitch Guide & Abbreviations (US Terms)
- MR = Magic Ring
- ch = Chain
- sc = Single crochet
- inc = 2 sc in the same stitch
- sl st = Slip stitch
- st/sts = Stitch/stitches
- BLO = Back loop only (insert hook under only the back loop of the stitch)
Step-by-Step Pattern Instructions
Crown and Body
- Rnd 1: Start with a MR, work 6 sc into the ring. (6 sts)
- Rnd 2: 2 sc in each st around. (12 sts)
- Rnd 3: [1 sc in next st, inc] 6 times. (18 sts)
- Rnd 4: [1 sc in next 2 sts, inc] 6 times. (24 sts)
- Rnd 5: [1 sc in next 3 sts, inc] 6 times. (30 sts)
- Rnd 6: [1 sc in next 4 sts, inc] 6 times. (36 sts)
- Rnd 7: [1 sc in next 5 sts, inc] 6 times. (42 sts)
- Rnd 8: [1 sc in next 6 sts, inc] 6 times. (48 sts)
- Rnd 9: [1 sc in next 7 sts, inc] 6 times. (54 sts)
- Rnd 10: [1 sc in next 8 sts, inc] 6 times. (60 sts)
- Rnds 11-25: 1 sc in each st around. (60 sts)
Brim
- Rnd 26: Working in BLO for this round only, [1 sc in next 9 sts, inc] 6 times. (66 sts)
- Rnd 27: [1 sc in next 10 sts, inc] 6 times. (72 sts)
- Rnd 28: [1 sc in next 11 sts, inc] 6 times. (78 sts)
- Rnd 29: [1 sc in next 12 sts, inc] 6 times. (84 sts)
- Rnd 30: 1 sc in each st around. (84 sts)
- Finishing: Sl st into the next stitch to smooth the edge, fasten off, and weave in all ends securely using a tapestry needle.
Care & Washing Instructions
- Hand wash your hat in cool water using a mild detergent to maintain the integrity of the cotton fibers.
- Lay the item flat on a clean towel to air dry, reshaping it while damp to ensure the brim remains circular.
- Avoid using a tumble dryer, as heat can shrink natural fibers and cause the hat to lose its intended structure.
Pro Tips & Common Mistakes to Avoid
- Maintain consistent tension throughout the crown and body, as tightness variations will cause the hat to look puckered or uneven.
- Place a stitch marker at the very first stitch of every round to keep track of your progress, moving it up as you complete each round.
- Weave in your starting yarn end tightly into the center of the magic ring to prevent the crown from loosening over time.
- To adjust the size, add or subtract stitches during the crown increases by 6 stitches per round, but remember that this will change the total yarn requirements.
Frequently Asked Questions
Can I use a larger hook size for this pattern?
Using a larger hook will make the fabric more open and airy, which may result in a hat that does not hold its shape well. Stick to the 5.0 mm hook for the most structured result.
Is this pattern suitable for a total beginner?
Yes, this project uses only the single crochet stitch and simple increases, making it perfect for someone who has just learned the basics of yarn control.
How do I adjust the brim size if I want it wider?
You can continue the increase rounds for the brim for another 2-3 rounds, adding 6 stitches per round, provided you have enough yarn remaining.
Am I allowed to sell hats made from this pattern?
You are welcome to sell finished items created from this pattern. Please credit the original design and use your own photographs when listing items for sale.
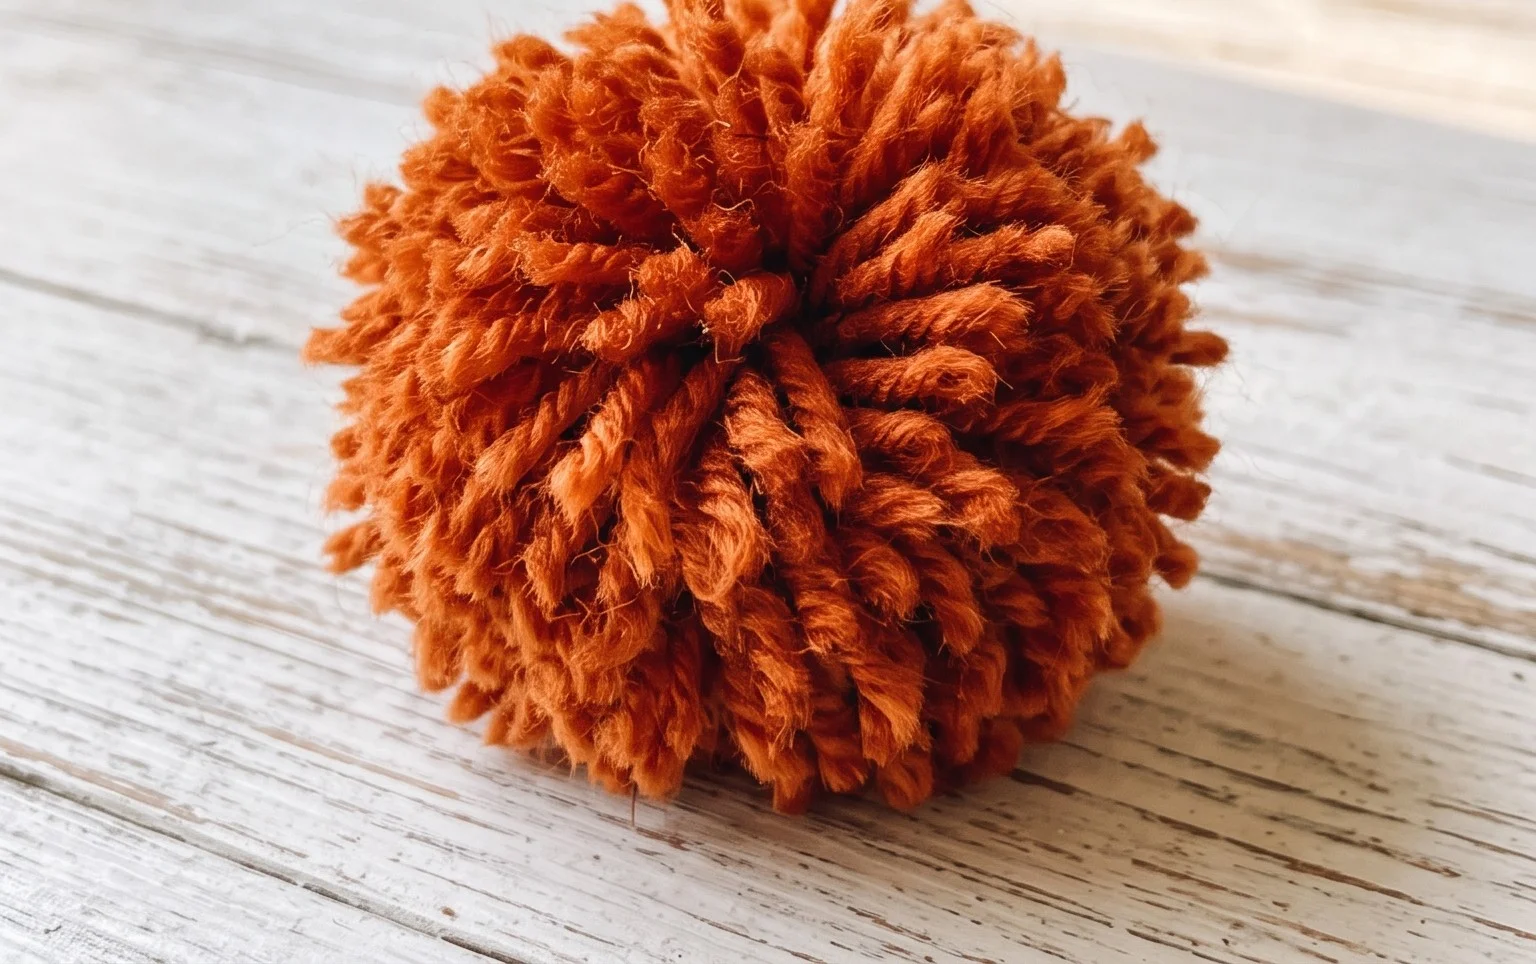
Your new pom pom is now ready to top off a cozy winter beanie or add flair to a decorative pillow cover. If you prefer a smaller look, simply reduce the number of wraps around your cardboard template by half. Seeing your finished projects is always a treat, so please share a photo on your favorite social media platform. You can find more free patterns and helpful tutorials by browsing the full archives on the blog whenever you feel like starting another yarn project.