Easy Crochet Drawstring Bag Free Pattern for Beginners
This simple cotton bag sits comfortably in your palm with the familiar, slightly rough texture of high-quality kitchen yarn. It represents a practical solution for organizing loose knitting notions or keeping your current small project contained while you travel between rooms. Beginners will find the rhythm of the double crochet stitches builds confidence, while experienced makers appreciate the speed of such a reliable, stash-busting item. You will learn to construct a flat base and transition into a sturdy cylinder, finishing with an eyelet row that makes the drawstring function smoothly. This functional accessory creates a clean, minimalist aesthetic for your home storage.
Why This Project Is Worth Making
This simple crochet drawstring bag is a functional project that relies on basic stitches to create a durable, everyday accessory. Its primary strength lies in the simplicity of the construction, which uses double crochet stitches worked in joined rounds to build a sturdy base and a flexible body. Because it requires only one skein of medium-weight yarn, it is an efficient way to clear out partial balls of fiber from your stash. The drawstring closure mechanism ensures your belongings stay secure while remaining easily accessible for daily use.
The design is entirely customizable in terms of height, as you can simply add or subtract rounds before working the eyelet row to suit your specific storage needs. Its straightforward nature makes it a reliable pattern for building consistency in your tension, especially when maintaining a flat base or a uniform tube. Many makers find that the repetitive motion of the double crochet stitch offers a meditative pace, resulting in a finished piece that feels both professional and personal.
I managed to finish this bag in just one afternoon using leftover cotton yarn. The instructions for the eyelet row were very clear and it has become my go-to project holder for smaller knitting kits.
— Sarah, hobbyist crafter
Pattern Overview & Skill Level
- Skill Level: Beginner
- Approximate Time: 3 to 4 hours
- Construction: Worked in joined rounds, starting from a flat circular base and continuing upward in a cylinder.
- Finished Dimensions: 8 inches wide by 9 inches tall (flat).
Materials & Supplies Needed
- Yarn: Worsted #4 weight cotton yarn, approximately 180 yards. Cotton is recommended for its lack of stretch and structural stability.
- Hook Size: 5.0 mm (US H-8).
- Notions: Tapestry needle for weaving ends, stitch marker to track the beginning of rounds, and a length of cord or ribbon for the drawstring.
- Yarn Substitutions: Acrylic yarn may be used, though the bag will be slightly more elastic and may stretch over time. Wool yarn is suitable but requires hand-washing to prevent felting.
Stitch Guide & Abbreviations (US Terms)
- ch = chain
- st/sts = stitch/stitches
- sl st = slip stitch
- dc = double crochet
- dc2tog = double crochet 2 stitches together (decrease)
- yo = yarn over
- MR = magic ring
- BLO = back loop only: work only into the back loop of the stitch.
Step-by-Step Pattern Instructions
Bag Base
- Rnd 1: Start with a MR. Ch 3 (counts as dc throughout), work 11 dc into the ring. Join with sl st to the top of the beginning ch-3. (12 sts)
- Rnd 2: Ch 3, dc in the same st. Work 2 dc in each st around. Join with sl st to the top of the ch-3. (24 sts)
- Rnd 3: Ch 3, 2 dc in the next st. 1 dc in the next st, 2 dc in the following st. Repeat from * to * around. Join with sl st. (36 sts)
- Rnd 4: Ch 3, 1 dc in the next st, 2 dc in the next st. 1 dc in each of the next 2 sts, 2 dc in the following st. Repeat from * to * around. Join with sl st. (48 sts)
Bag Body
- Rnd 5: Ch 3, dc in each st around, working in BLO to create a crisp transition between the base and the sides. Join with sl st. (48 sts)
- Rnds 6–16: Ch 3, dc in each st around. Join with sl st. (48 sts)
- Rnd 17 (Eyelet Round): Ch 4 (counts as dc and ch-1), skip 1 st, dc in the next st. Ch 1, skip 1 st, dc in the next st. Repeat from * to * around. Join with sl st in the 3rd ch of the starting ch-4. (24 dc, 24 ch-1 spaces)
- Rnd 18: Ch 3, work 1 dc in each ch-1 space and 1 dc in each dc around. Join with sl st. (48 sts)
Finishing
Fasten off yarn, leaving a 6-inch tail. Weave in all ends securely using a tapestry needle. Thread your chosen cord or ribbon through the eyelets created in Round 17, alternating over and under to create the drawstring closure. Knot the ends of the cord together to prevent it from slipping out.
Care & Washing Instructions
- Machine wash in cold water on a delicate cycle using a mesh laundry bag to prevent snagging.
- Lay the bag flat on a clean towel to air dry, ensuring it is reshaped to its original dimensions.
- Avoid using a tumble dryer, as heat can cause the cotton fibers to shrink or lose their shape.
Pro Tips & Common Mistakes to Avoid
Maintain consistent tension throughout the body of the bag to ensure the sides remain vertical rather than flaring out. Use a stitch marker at the start of every round; this prevents you from losing your place, especially when working the eyelet round. When weaving in your ends, run the yarn through the back of the stitches in two different directions to ensure the tail does not work itself loose during use. If you want a larger bag, increase your base size by adding more rounds, keeping in mind that you will need approximately 20% more yarn for each additional round added to the circumference.
Frequently Asked Questions
Can I use a larger hook to make this project faster?
Using a larger hook will increase the size of the bag and make the fabric less dense. If you choose a larger hook, you may notice gaps between your stitches, which could allow small items to fall out.
Is this pattern suitable for someone who has only done simple squares?
Yes, this is an excellent transition project for those comfortable with basic stitches. It introduces working in the round and building height, which are foundational skills for 3D crochet.
How can I adjust the size of the bag?
You can add extra rows to the Body section to make it taller, or add extra rounds to the Base section to make it wider. Always ensure your stitch count remains a multiple of 2 for the eyelet round.
Am I allowed to sell bags made from this pattern?
You are welcome to sell finished items made from this pattern as long as you credit the original design. Please refrain from selling or redistributing the written pattern itself.
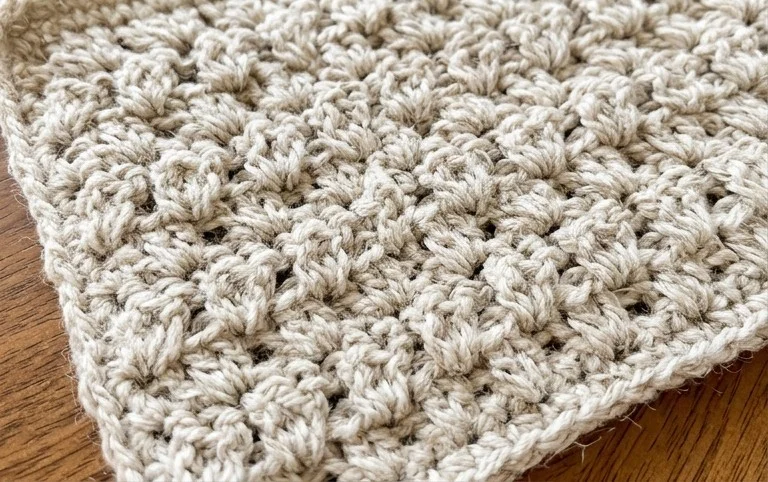
Your finished drawstring pouch provides a tidy home for your loose crochet hooks and yarn scraps. Consider swapping the solid color for a bold variegated cotton if you want to experiment with visual interest, or simply increase the number of rounds to hold larger skeins. Please share a photo of your completed work on social media so others can see your color choices. You can also visit the rest of the blog to browse our library of other free patterns and continue building your library of handmade goods.