How to Crochet a Textured Cowl: Free Beginner Pattern
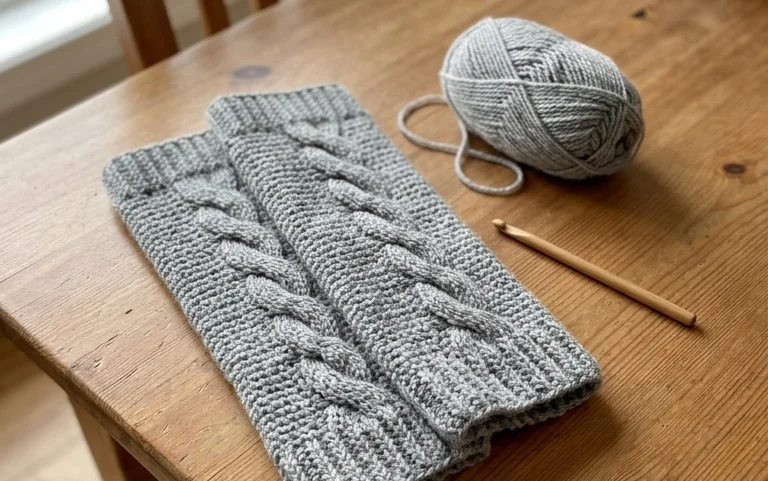
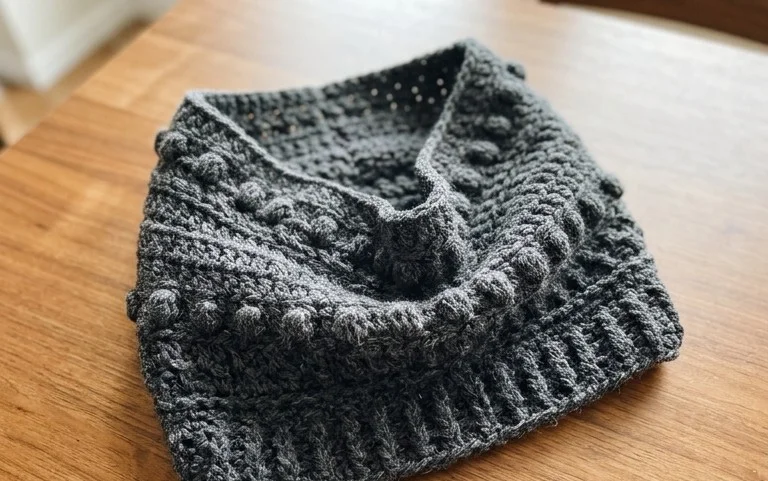
A thick, squishy cowl provides immediate warmth on a biting winter morning, wrapping snugly against your skin to block out the chill. This project relies on a rhythmic stitch combination that creates depth without requiring advanced skills, making it a reliable choice for beginners or anyone needing a quick gift. You will spend your time mastering the front-post double crochet, a technique that adds a raised, cable-like texture to the fabric. Creating this accessory feels productive because it grows quickly under your hook, turning basic yarn into a soft, cozy staple that you can wear all season long.
Why This Project Is Worth Making
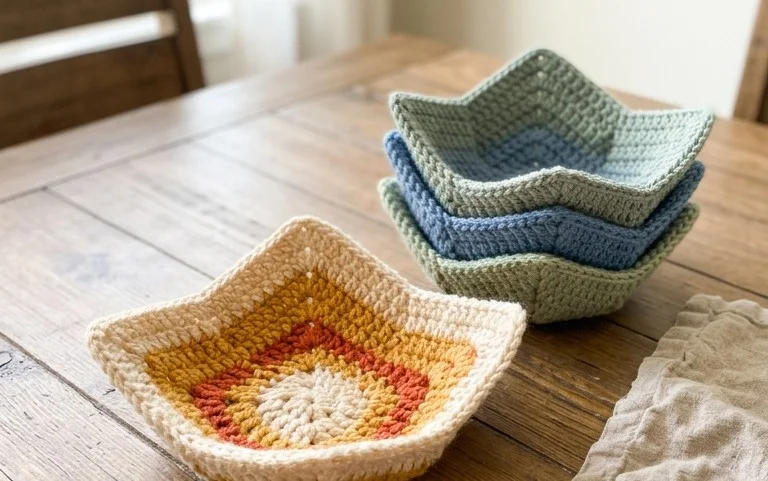
The Classic Crochet Granny Square is the fundamental building block of crochet design. This specific version uses a traditional three-double crochet cluster technique that creates a balanced, professional-looking square. You will find this pattern rewarding because it works up quickly, allows for endless color combinations using leftover yarn from your stash, and provides a meditative, repetitive rhythm that is ideal for practicing consistent tension. Because each square is a modular unit, you can stop after making one for a coaster or continue until you have enough to assemble a full-sized heirloom blanket.
I have tried several different methods for granny squares, but this specific count keeps the edges from curling and makes joining them much easier when it comes time to finish the quilt.
— Sarah, hobbyist crafter
Pattern Overview & Skill Level
- Skill Level: Beginner
- Approximate Time: 30 to 45 minutes per square
- Construction: Worked in rounds from the center outward, turning the work after each round to keep the square shape square rather than spiraling
- Finished Dimensions & Sizing: Approximately 5 inches by 5 inches using the recommended yarn and hook
Materials & Supplies Needed
- Yarn: Worsted weight (#4), 100% acrylic or wool blend, approximately 20 yards per square.
- Hook Size: 5.0 mm / H-8
- Notions: Tapestry needle for weaving in ends, scissors, and a measuring tape to ensure gauge.
- Safe yarn substitutions: You may use cotton yarn, though it will produce a stiffer square and require more steam blocking to lay flat. Avoid bulky weight yarns unless you adjust the hook size to 6.0 mm or larger, which will significantly increase the final dimensions.
Stitch Guide & Abbreviations (US Terms)
- ch = chain
- st = stitch
- sl st = slip stitch
- dc = double crochet
- cluster = a group of 3 dc stitches worked into the same space
- sp = space
- RS = right side
Step-by-Step Pattern Instructions
This pattern is worked in rounds. Always join with a slip stitch to the top of the first stitch of the round and chain to begin the next. Turning your work after every round prevents the square from twisting.
The Granny Square
- Rnd 1: Start with a magic ring. Ch 3 (counts as first dc), work 2 dc into the ring, ch 2, *3 dc into ring, ch 2; repeat from * two more times. Join with a sl st to the top of the beginning ch-3. (12 dc, 4 ch-2 spaces)
- Rnd 2: Turn work. Sl st into the first corner ch-2 space. Ch 3, 2 dc in same space, ch 2, 3 dc in same space (first corner made). *Ch 1, skip 3 sts, [3 dc, ch 2, 3 dc] in next corner ch-2 space; repeat from * around. Join with a sl st to the top of the beginning ch-3. (24 dc, 4 ch-1 spaces, 4 ch-2 spaces)
- Rnd 3: Turn work. Sl st into the first corner ch-2 space. Ch 3, 2 dc in same space, ch 2, 3 dc in same space. *Ch 1, 3 dc in the next ch-1 space, ch 1, [3 dc, ch 2, 3 dc] in next corner ch-2 space; repeat from * around. Join with a sl st to the top of the beginning ch-3. (36 dc, 8 ch-1 spaces, 4 ch-2 spaces)
- Rnd 4: Turn work. Sl st into the first corner ch-2 space. Ch 3, 2 dc in same space, ch 2, 3 dc in same space. *Ch 1, [3 dc in next ch-1 space, ch 1] across to the next corner, [3 dc, ch 2, 3 dc] in corner ch-2 space; repeat from * around. Join with a sl st to the top of the beginning ch-3. (48 dc, 12 ch-1 spaces, 4 ch-2 spaces)
Finishing
Cut the yarn, leaving a 6-inch tail. Pull the tail through the final loop and tighten. Thread the tail onto a tapestry needle and weave it through the stitches on the back side of the work to secure it. Repeat for all starting and ending tails.
Care & Washing Instructions
- Hand wash in cool water using a mild wool wash or gentle detergent.
- Gently squeeze out excess water with a towel, do not wring or twist the fabric.
- Lay flat on a clean surface or blocking board, pinning the corners to ensure a perfect square shape while drying.
Pro Tips & Common Mistakes to Avoid
- Tension: Keep your chain stitches at the corners slightly loose. If they are too tight, the square will cup or bowl instead of laying flat.
- Counting: Place a stitch marker in the top of your starting chain-3 at the beginning of each round to easily identify where to join your slip stitch at the end.
- Weaving ends: Weave your ends in multiple directions through the stitches rather than just going in a straight line; this prevents the yarn from working its way out over time.
- Size adjustment: To make the square larger, continue repeating Rnd 4 until you reach your desired size, adding one extra cluster of 3 dc into each side ch-1 space per round. Note that this will increase the total yardage required.
Frequently Asked Questions
Can I use a different weight of yarn for this pattern?
Yes, you can use any yarn weight. However, changing the weight will change the final size of the square. If you use a thinner yarn (like sport weight), you will need to add more rounds to reach a 5-inch size.
Is this pattern suitable for someone who has never crocheted before?
Yes, this is an ideal beginner project. It focuses on the double crochet stitch and chaining, which are the two most common techniques in crochet. The repetitive nature makes it easy to spot and correct mistakes early.
How do I join these squares together to make a blanket?
There are several methods, such as the single crochet join, the invisible slip stitch join, or the flat braid join. You can choose any join that matches the aesthetic of your finished project.
May I sell items made from this pattern?
You may sell finished items made from this pattern provided you credit the original design and use your own photographs. Do not distribute or sell the written pattern itself.
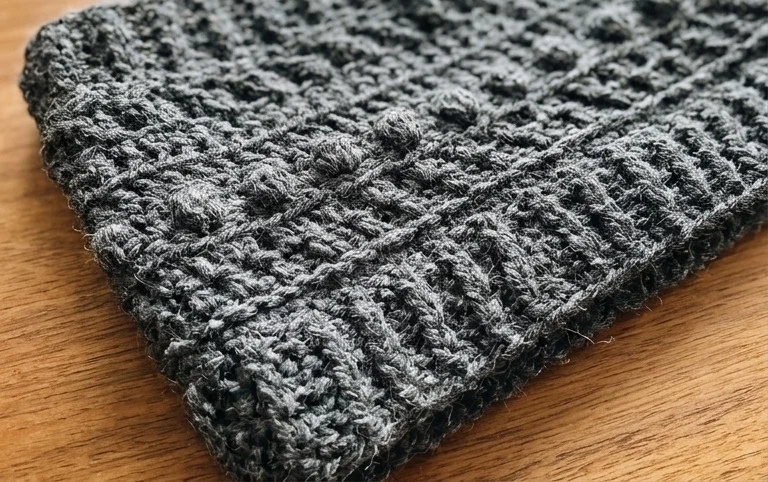
Your finished piece offers a soft and stylish barrier against the wind, turning any chilly afternoon into a cozy experience. You might consider using a variegated wool yarn for your next attempt to see how the color shifts interact with the deep, repeating texture of the stitches. Seeing your work is a joy, so please share a photo of your progress online to show off your hard work. You can find more free patterns to fill your afternoon on the main blog page anytime you need a new project.