Easy Daisy Farm Crafts Granny Square Free Crochet Pattern
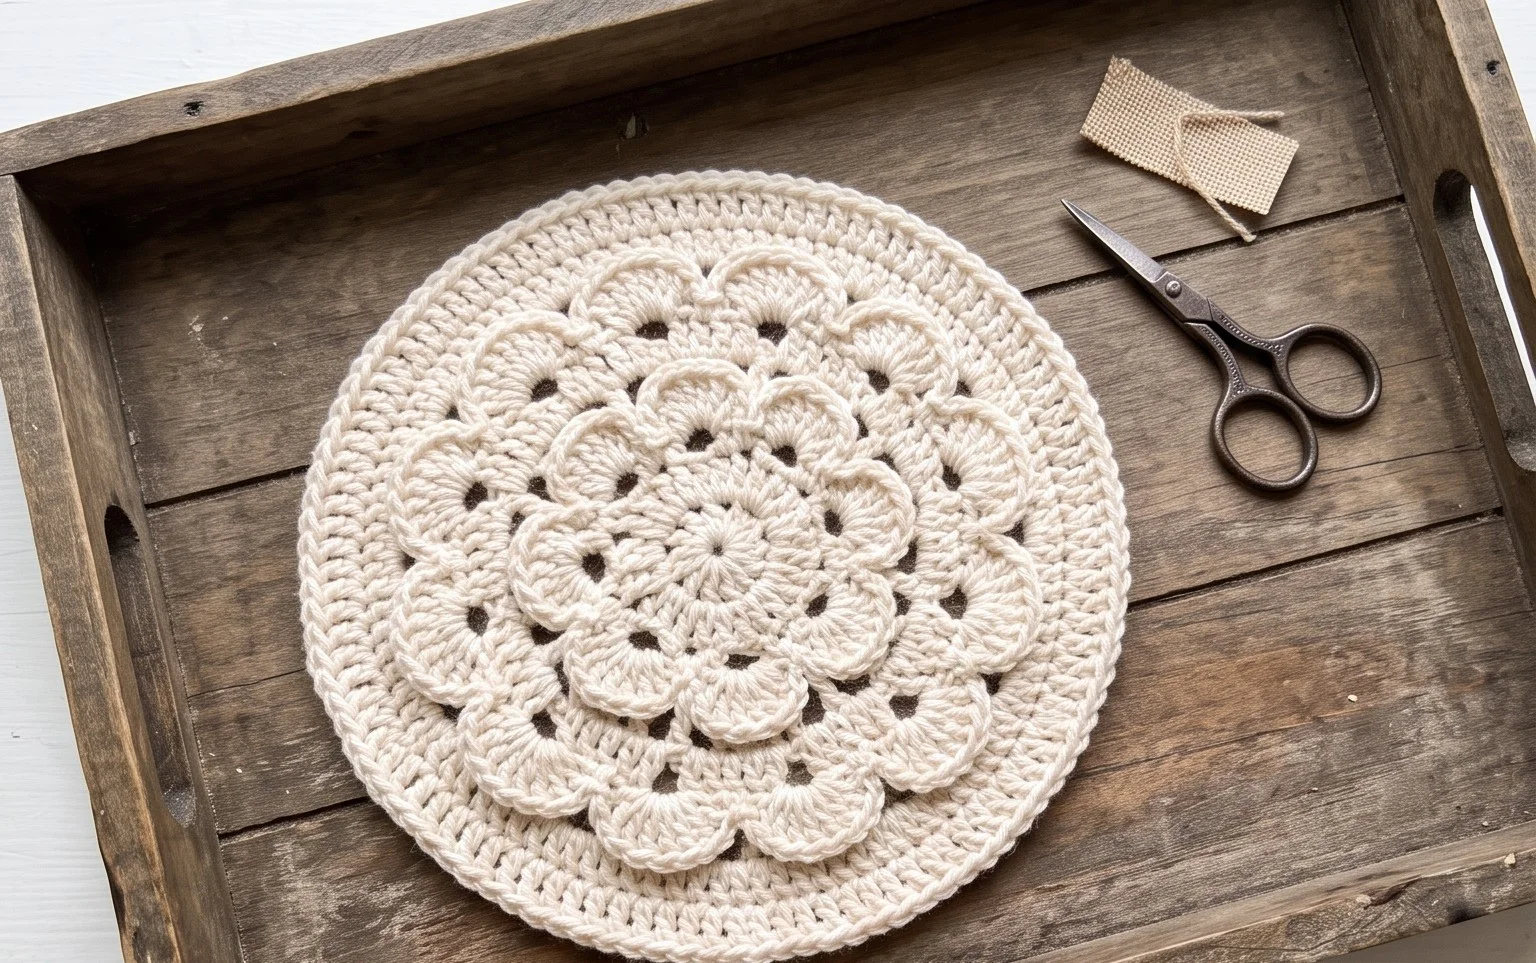
Soft cotton squares stacked on a wooden table bring a quiet rhythm to an afternoon spent with yarn. These motifs possess a sturdy yet flexible drape that makes them fitting for beginners learning to control their tension while working in the round. You will find that these simple blocks become building materials for anything from a crib blanket to a casual market bag. This project focuses on the fundamental double crochet cluster and the importance of turning your work to prevent the center from spiraling. You get to enjoy the meditative process of building shapes one stitch at a time while creating something truly lasting.
Why You’ll Love This Pattern
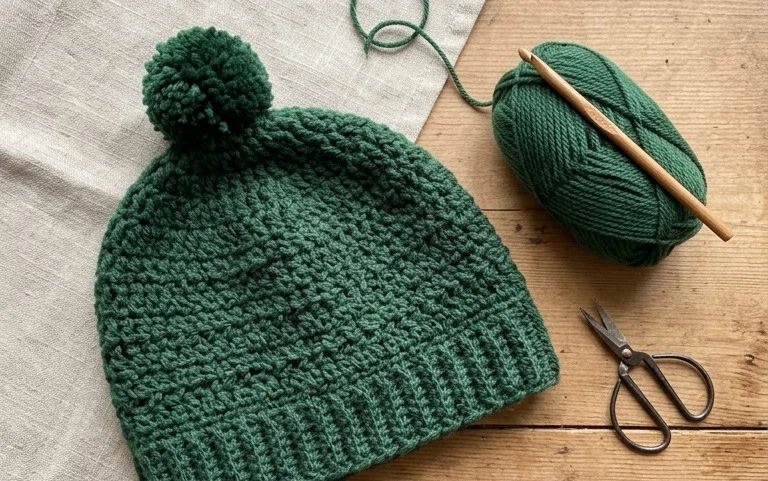
The Classic Crochet Granny Square is the foundation of countless heritage projects, from cozy blankets to lightweight summer garments. You will appreciate how quickly this pattern works up once you memorize the sequence of chain spaces and clusters. Because it uses a simple repetitive structure, it serves as an ideal way to practice maintaining consistent tension throughout your stitches. The project is highly portable, making it easy to stash a small ball of yarn and a hook in your bag for stitching while waiting for appointments. You can customize the size easily by simply adding more rounds, allowing you to scale the design for a coaster, a pillow cover, or an entire heirloom quilt.
I started these to use up leftover yarn from my stash, and they are incredibly addictive. The clear structure makes it easy to finish one square while watching television.
— Sarah, intermediate crafter
Pattern Overview & Skill Level
- Skill Level: Beginner
- Approximate Time: 30 to 45 minutes per square
- Construction: Worked in joined rounds, starting from the center and expanding outward
- Finished Dimensions: Approximately 6 inches by 6 inches when using worsted weight yarn
Materials & Supplies Needed
- Yarn: Worsted #4 weight, acrylic or wool blend, approximately 20 yards per square.
- Hook Size: 5.0 mm (H-8) aluminum or ergonomic crochet hook.
- Notions: Tapestry needle for weaving in ends, sharp scissors.
- Safe yarn substitutions: You can use DK weight yarn with a 4.0 mm hook for a smaller, tighter square, or bulky weight yarn with a 6.0 mm hook for a larger, quicker square. Adjusting weight will change the final dimensions but not the stitch logic.
Stitch Guide & Abbreviations (US Terms)
- ch: Chain
- st: Stitch
- sl st: Slip stitch
- dc: Double crochet
- dc-cluster: 3 double crochet stitches worked into the same space
- sp: Space
- MR: Magic ring (or alternative ch-4 and join with sl st to form a ring)
Step-by-Step Pattern Instructions
Granny Square Body
Follow these instructions to create the base of your square. Each round is joined with a slip stitch to the top of the initial chain.
- Rnd 1: Start with a MR. Ch 3 (counts as first dc), 2 dc in ring, ch 2, *3 dc in ring, ch 2; repeat from * twice more. Join with a sl st to the top of the starting ch-3. (12 dc, 4 ch-2 spaces)
- Rnd 2: Sl st into the next dc and into the first ch-2 space. Ch 3, 2 dc in same sp, ch 2, 3 dc in same sp (first corner made). *Ch 1, skip 3 dc, (3 dc, ch 2, 3 dc) in next ch-2 sp; repeat from * twice more. Ch 1, join with sl st to the top of the starting ch-3. (24 dc, 4 ch-2 corners, 4 ch-1 side spaces)
- Rnd 3: Sl st into the next dc and into the first ch-2 corner sp. Ch 3, 2 dc in same sp, ch 2, 3 dc in same sp. *Ch 1, 3 dc in next ch-1 sp, ch 1, (3 dc, ch 2, 3 dc) in next corner sp; repeat from * twice more. Ch 1, 3 dc in next ch-1 sp, ch 1, join with sl st to top of starting ch-3. (36 dc, 4 ch-2 corners, 8 ch-1 side spaces)
- Rnd 4: Continue in pattern by working 3 dc in every ch-1 sp and (3 dc, ch 2, 3 dc) in every corner ch-2 sp. Join with sl st to the top of the starting ch-3. (48 dc, 4 ch-2 corners, 12 ch-1 side spaces)
Finishing
Once you reach the desired size, fasten off your yarn, leaving a 6-inch tail. Use your tapestry needle to weave the tail through the back loops of the stitches on the reverse side of the square. Trim any excess yarn close to the fabric to ensure a clean finish.
Care & Washing Instructions
- Hand wash your finished item in cool water with a mild detergent to preserve the structure of the fibers.
- Lay the piece flat on a clean towel to dry, shaping it into a perfect square while it is still damp.
- Avoid wringing or twisting the fabric, as this can distort the stitches and cause the square to lose its shape.
Pro Tips & Common Mistakes to Avoid
Maintain consistent tension by ensuring your fingers are relaxed as you pull the yarn through each loop. Use a locking stitch marker to secure the starting chain of each round so you can easily identify where to join your slip stitch at the end. Weave your ends in multiple directions through the back loops to prevent them from slipping out over time. If you decide to increase the size of the square beyond four rounds, remember that each additional round will require significantly more yarn, so ensure you have a complete dye lot available before you begin.
Frequently Asked Questions
Can I use a different weight of yarn for this pattern?
Yes, you can substitute any yarn weight as long as you use a hook size appropriate for that fiber. Using a lighter weight yarn will result in a smaller square, while a heavier yarn will produce a larger one.
How do I join multiple squares together?
You can join squares using a whip stitch along the back loops or by using a flat slip stitch seam. Choose the method that best matches the aesthetic you want for your final project.
Is this pattern suitable for someone who has never crocheted before?
This pattern is highly recommended for beginners because it relies on the double crochet stitch and standard chain spaces. It provides immediate practice with basic increases in the corners.
May I sell the items I create from this pattern?
You are welcome to sell finished items created from this pattern. However, you should credit the design to the original creator and use your own photographs to represent your work.
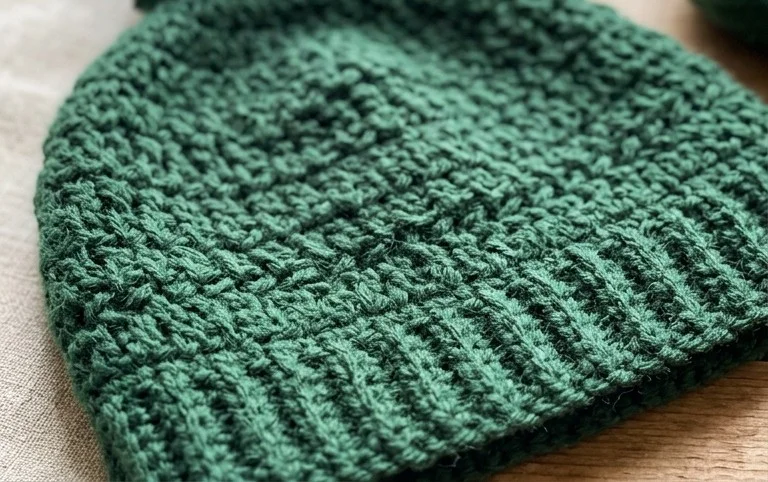
Your finished square sits flat and provides a solid base for your next handmade heirloom. You can experiment with a marled look by holding two strands of lace weight yarn together to create a unique color shift that changes with every round. Seeing how these small pieces come together in a project brings a lot of satisfaction, so please share a photo of your work on your favorite social platform. If you enjoy this sequence, there are plenty more free patterns waiting for you on the main blog page.