Easy Ribbed Crochet Beanie Pattern: Step-by-Step Guide
This beanie has a satisfying weight to it, with distinct ridges that hold their shape even after hours of wear. It is a wonderful project for those mornings when you want to keep your hands busy with a repetitive rhythm while listening to a podcast or enjoying a quiet cup of coffee. The construction relies on simple back loop stitches to build a stretchy, dense fabric that mimics knit ribbing without needing complicated needles. You will finish this hat quickly, making it a reliable gift for friends or family members who appreciate a functional, handmade winter accessory.
Why You’ll Love This Pattern
This crochet ribbed beanie relies on a simple repeating pattern of single crochet stitches worked in the back loops, creating a stretchy fabric that mimics the appearance of traditional knit ribbing. Because you work the piece as a flat rectangle before seaming it into a tube, you avoid the complexity of shaping stitches through decreases or increases. The finished beanie is dense enough to provide warmth during winter months yet flexible enough to fit a variety of head sizes comfortably. It serves as an excellent project for using up leftover yarn from larger skeins, as a standard adult size requires less than 200 yards.
I finished this hat in a single afternoon and the instructions were clear enough that I could watch a movie while working through the rows. The fit is perfect for a slouchy look.
— Sarah, hobbyist crocheter
Pattern Overview & Skill Level
- Skill Level: Beginner
- Approximate Time: 3 to 4 hours
- Construction: Worked flat in rows to create a rectangle, then seamed at the side and cinched at the top.
- Finished Dimensions & Sizing: Approximately 9 inches tall by 18 inches in circumference (stretches to fit 21-23 inch heads).
Materials & Supplies Needed
- Yarn: Worsted weight (#4), wool or acrylic blend, approximately 180 yards.
- Hook Size: 5.0 mm (US H-8).
- Notions: Tapestry needle, locking stitch markers, scissors, and a measuring tape.
- Safe yarn substitutions: You can use a cotton blend for a summer version, though it will have less natural elasticity than wool. If you choose a thicker bulky yarn, reduce the number of foundation chains by 5 to maintain the height.
Stitch Guide & Abbreviations (US Terms)
- ch: Chain
- sc: Single crochet
- BLO: Back loop only. Insert the hook under only the back loop of the stitch instead of both loops to create a ribbed texture.
- sl st: Slip stitch
- st(s): Stitch(es)
Step-by-Step Pattern Instructions
Main Hat Body
- Row 1: Ch 45. Sc in the second ch from the hook and in each ch across. Ch 1, turn. (44 sts).
- Row 2: Sc in the BLO of each st across. Ch 1, turn. (44 sts).
- Rows 3-60: Repeat Row 2 until the piece measures 18 inches wide when laid flat. Do not fasten off.
Assembly
- Fold the rectangle in half so the short edges meet.
- Using the tapestry needle and a long tail of yarn, whip stitch the two short edges together to form a tube.
- Leave a long tail at the top opening, weave the needle in and out through the edge of every other row around the top circumference.
- Pull the yarn tail tight to cinch the top of the hat closed. Secure with a knot on the inside.
- Weave in all remaining ends carefully to ensure the seam remains flat against the head.
Care & Washing Instructions
- Hand wash in cool water using a gentle wool detergent to maintain the integrity of the fibers.
- Lay the beanie flat on a towel to air dry, as hanging may cause the ribbing to stretch out of shape.
- If the hat loses its form over time, lightly steam the fabric from a distance of two inches without touching the yarn with the iron.
Pro Tips & Common Mistakes to Avoid
Maintain consistent tension throughout the rows, especially when working the BLO stitches, as tighter tension in the center rows will result in a warped or uneven rectangle. Always place a stitch marker in the first stitch of every row to ensure you do not accidentally drop stitches at the edges, which is the most common reason for a lopsided hat. When weaving in your ends, run the needle through the stitches in multiple directions to ensure the yarn does not pull out during repeated wear. If you decide to adjust the size, add or subtract foundation chains in multiples of two; adding chains will increase the height of the hat, while working more rows will increase the circumference.
Frequently Asked Questions
Can I sell the finished hats made from this pattern?
Yes, you may sell items created from this pattern provided you credit the design. Please do not distribute the pattern text itself.
Is this pattern suitable for someone who has only learned the chain stitch?
Yes, this project is designed specifically for beginners and only requires knowledge of the chain stitch and the single crochet stitch.
How do I adjust the hat to fit a child?
To make the hat smaller, decrease the starting chain count to 35 stitches and work fewer rows until the hat reaches a 16-inch circumference.
What happens if I use a larger hook size?
Using a larger hook will result in a more drapey fabric with larger gaps between stitches, which may make the hat less effective at blocking wind.
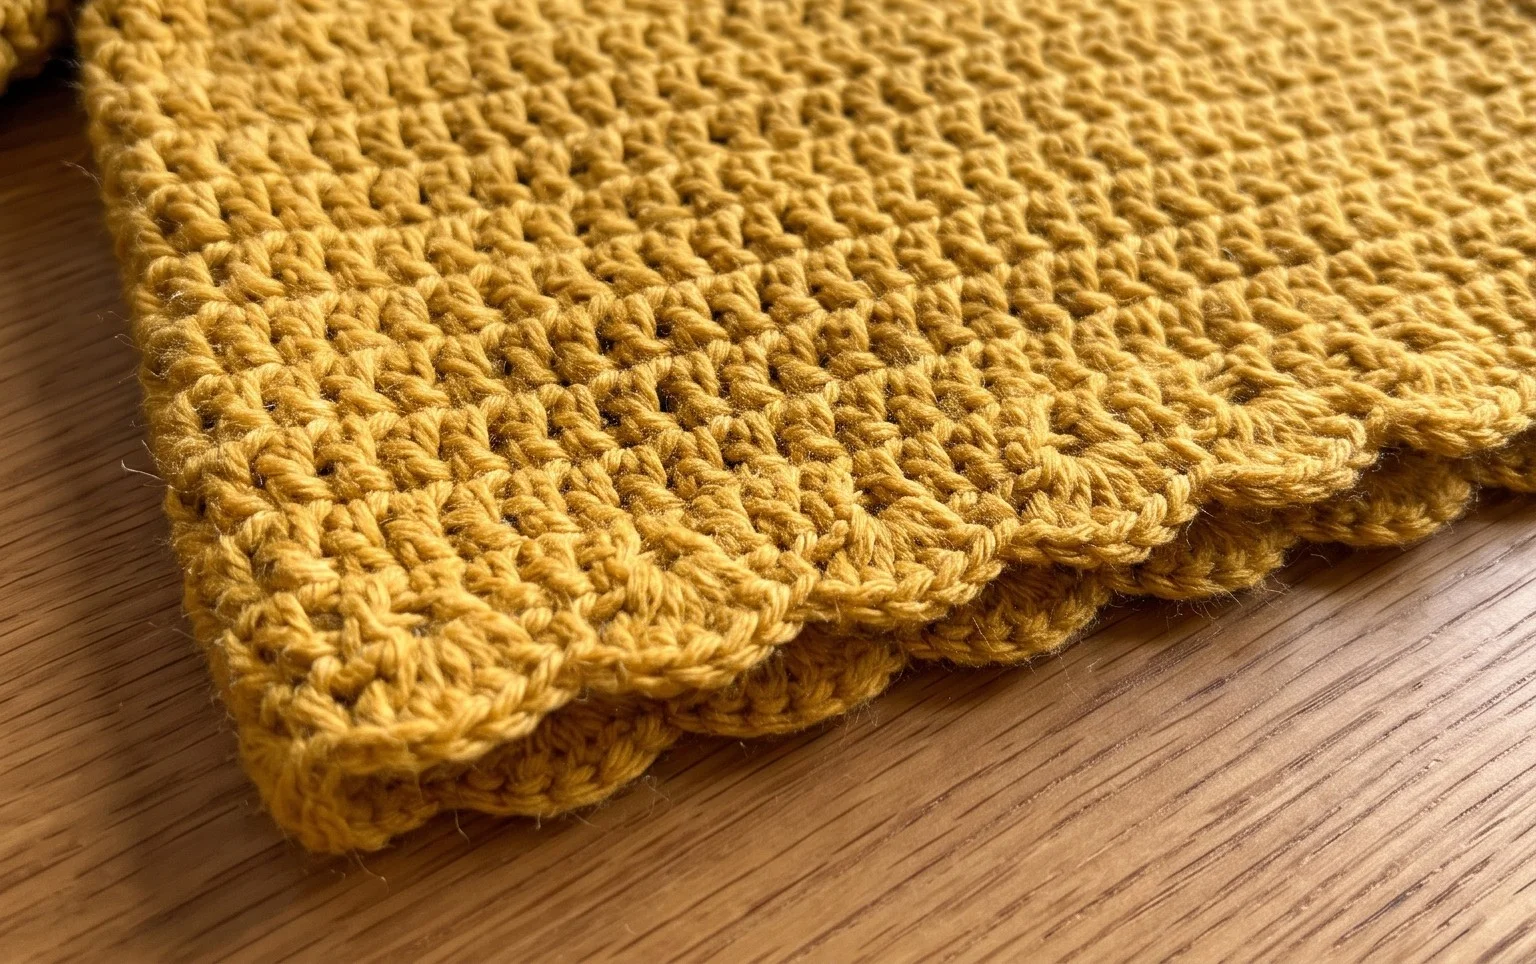
Your finished hat will feel warm and snug against your ears, keeping you comfortable even on the windiest afternoons. If you want to customize the look, try using a variegated yarn for a colorful effect or adding a large faux fur pom-pom to the crown. Post a photo of your work on Instagram so I can see your color choices in action. You can find more free patterns by browsing the archive on the homepage for your next afternoon hobby project.